
Lighthouse

by Zan Laucius
Template Setup Guide
Updated June 23, 2026
Introduction
Thank you for purchasing the Lighthouse Template by Zan Creative.
This documentation is here to help you set up, customize, and get the most out of your new website.
Don’t have the template yet? Purchase it here.
Getting Started
To get started customizing your template, you'll need a Framer account—a free plan works fine. From there, this guide will walk you through everything in order. Follow each step and you'll have your site live faster than you'd expect.
Home
To customize the Home page:
Change the text field for the Element/Location component
Change the title and subtitle text
Change the 3 images for the DynamicImages component on the right panel under Images/DynamicImages
Change the Title and Text fields for each Element/CollectionTitle on the page
For the CollectionPreview component, change the Title field and upload the main preview image
For the CollectionPreviewBG component, change the 5 images that will show in the background
Within the PrintsColumns stack, change all Image fields for the Print components
Within the LetsConnect stack, change the Link fields for each Button/SocialLarge component
Blog
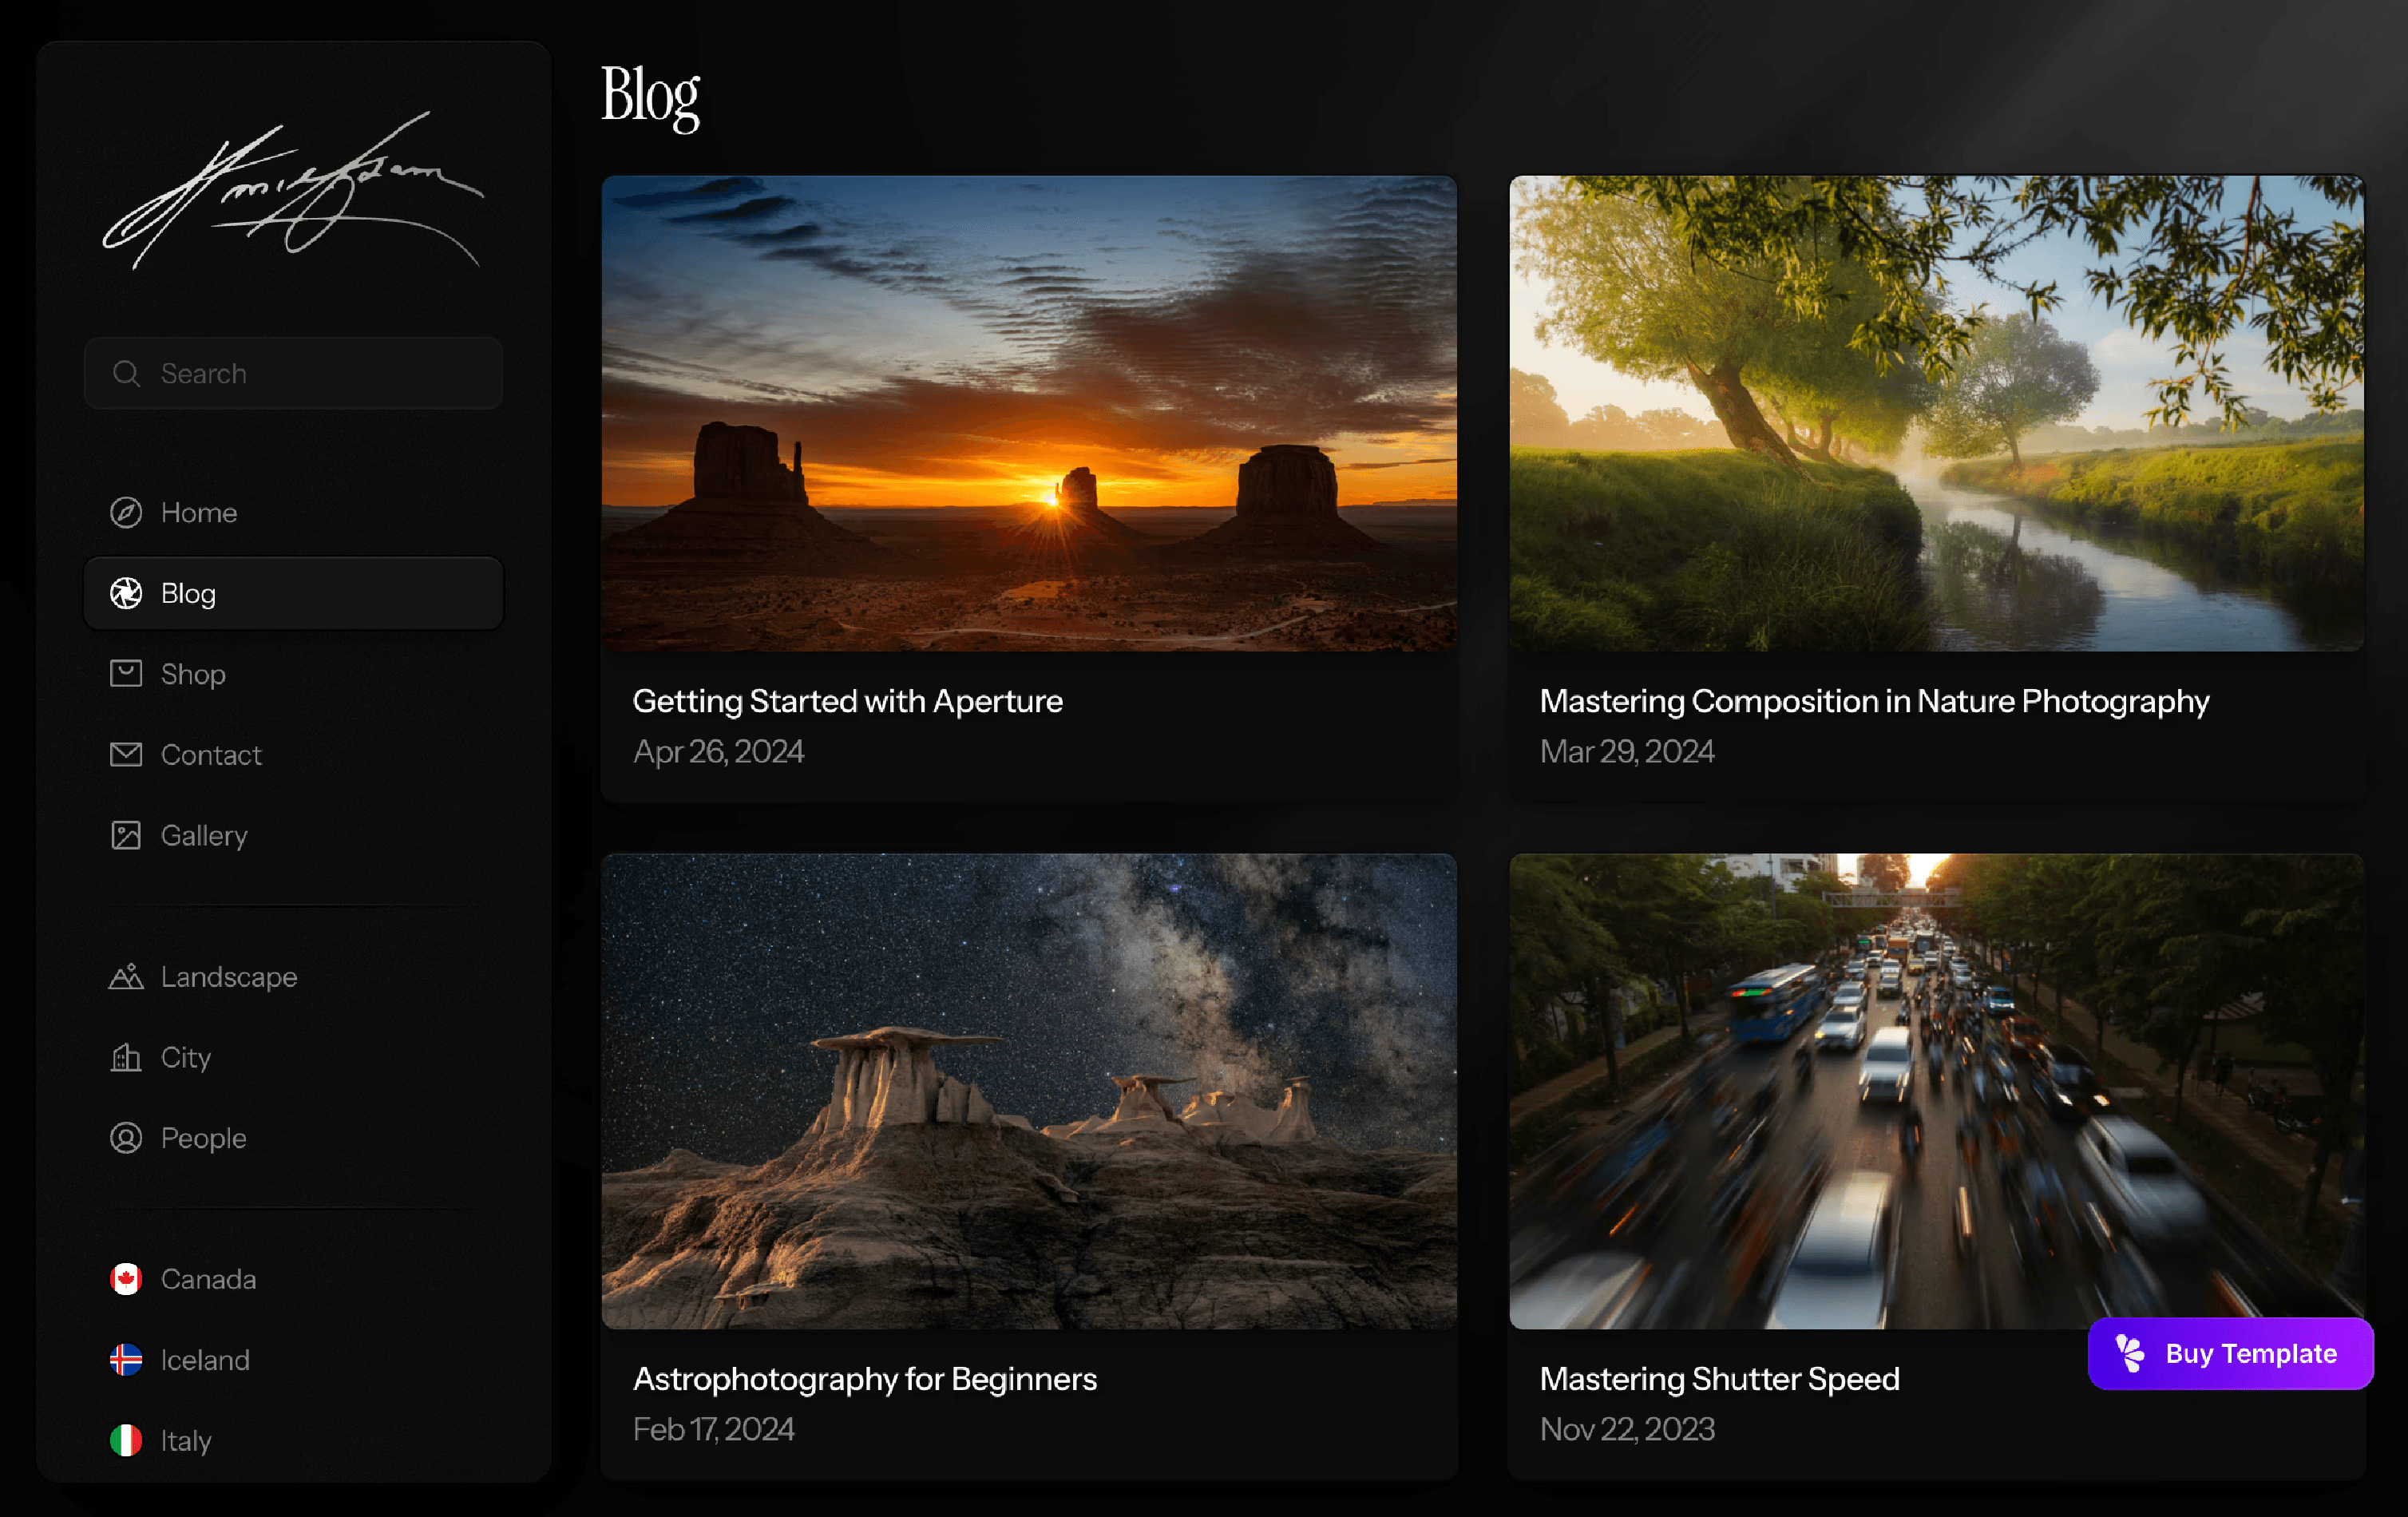
To customize the Blog:
Go the Blog CMS collection
From here, you can edit the post Title, Category, Date, Description Text and Blog Post Content
To show Category instead of Date (for Blog Preview Cards):
Go to the Blog page
Inside of BlogContent and Blog Collection List, select Card/BlogPostPreview
On the right panel, click on + Date and then Set Variable > Category > Display Option
Shop
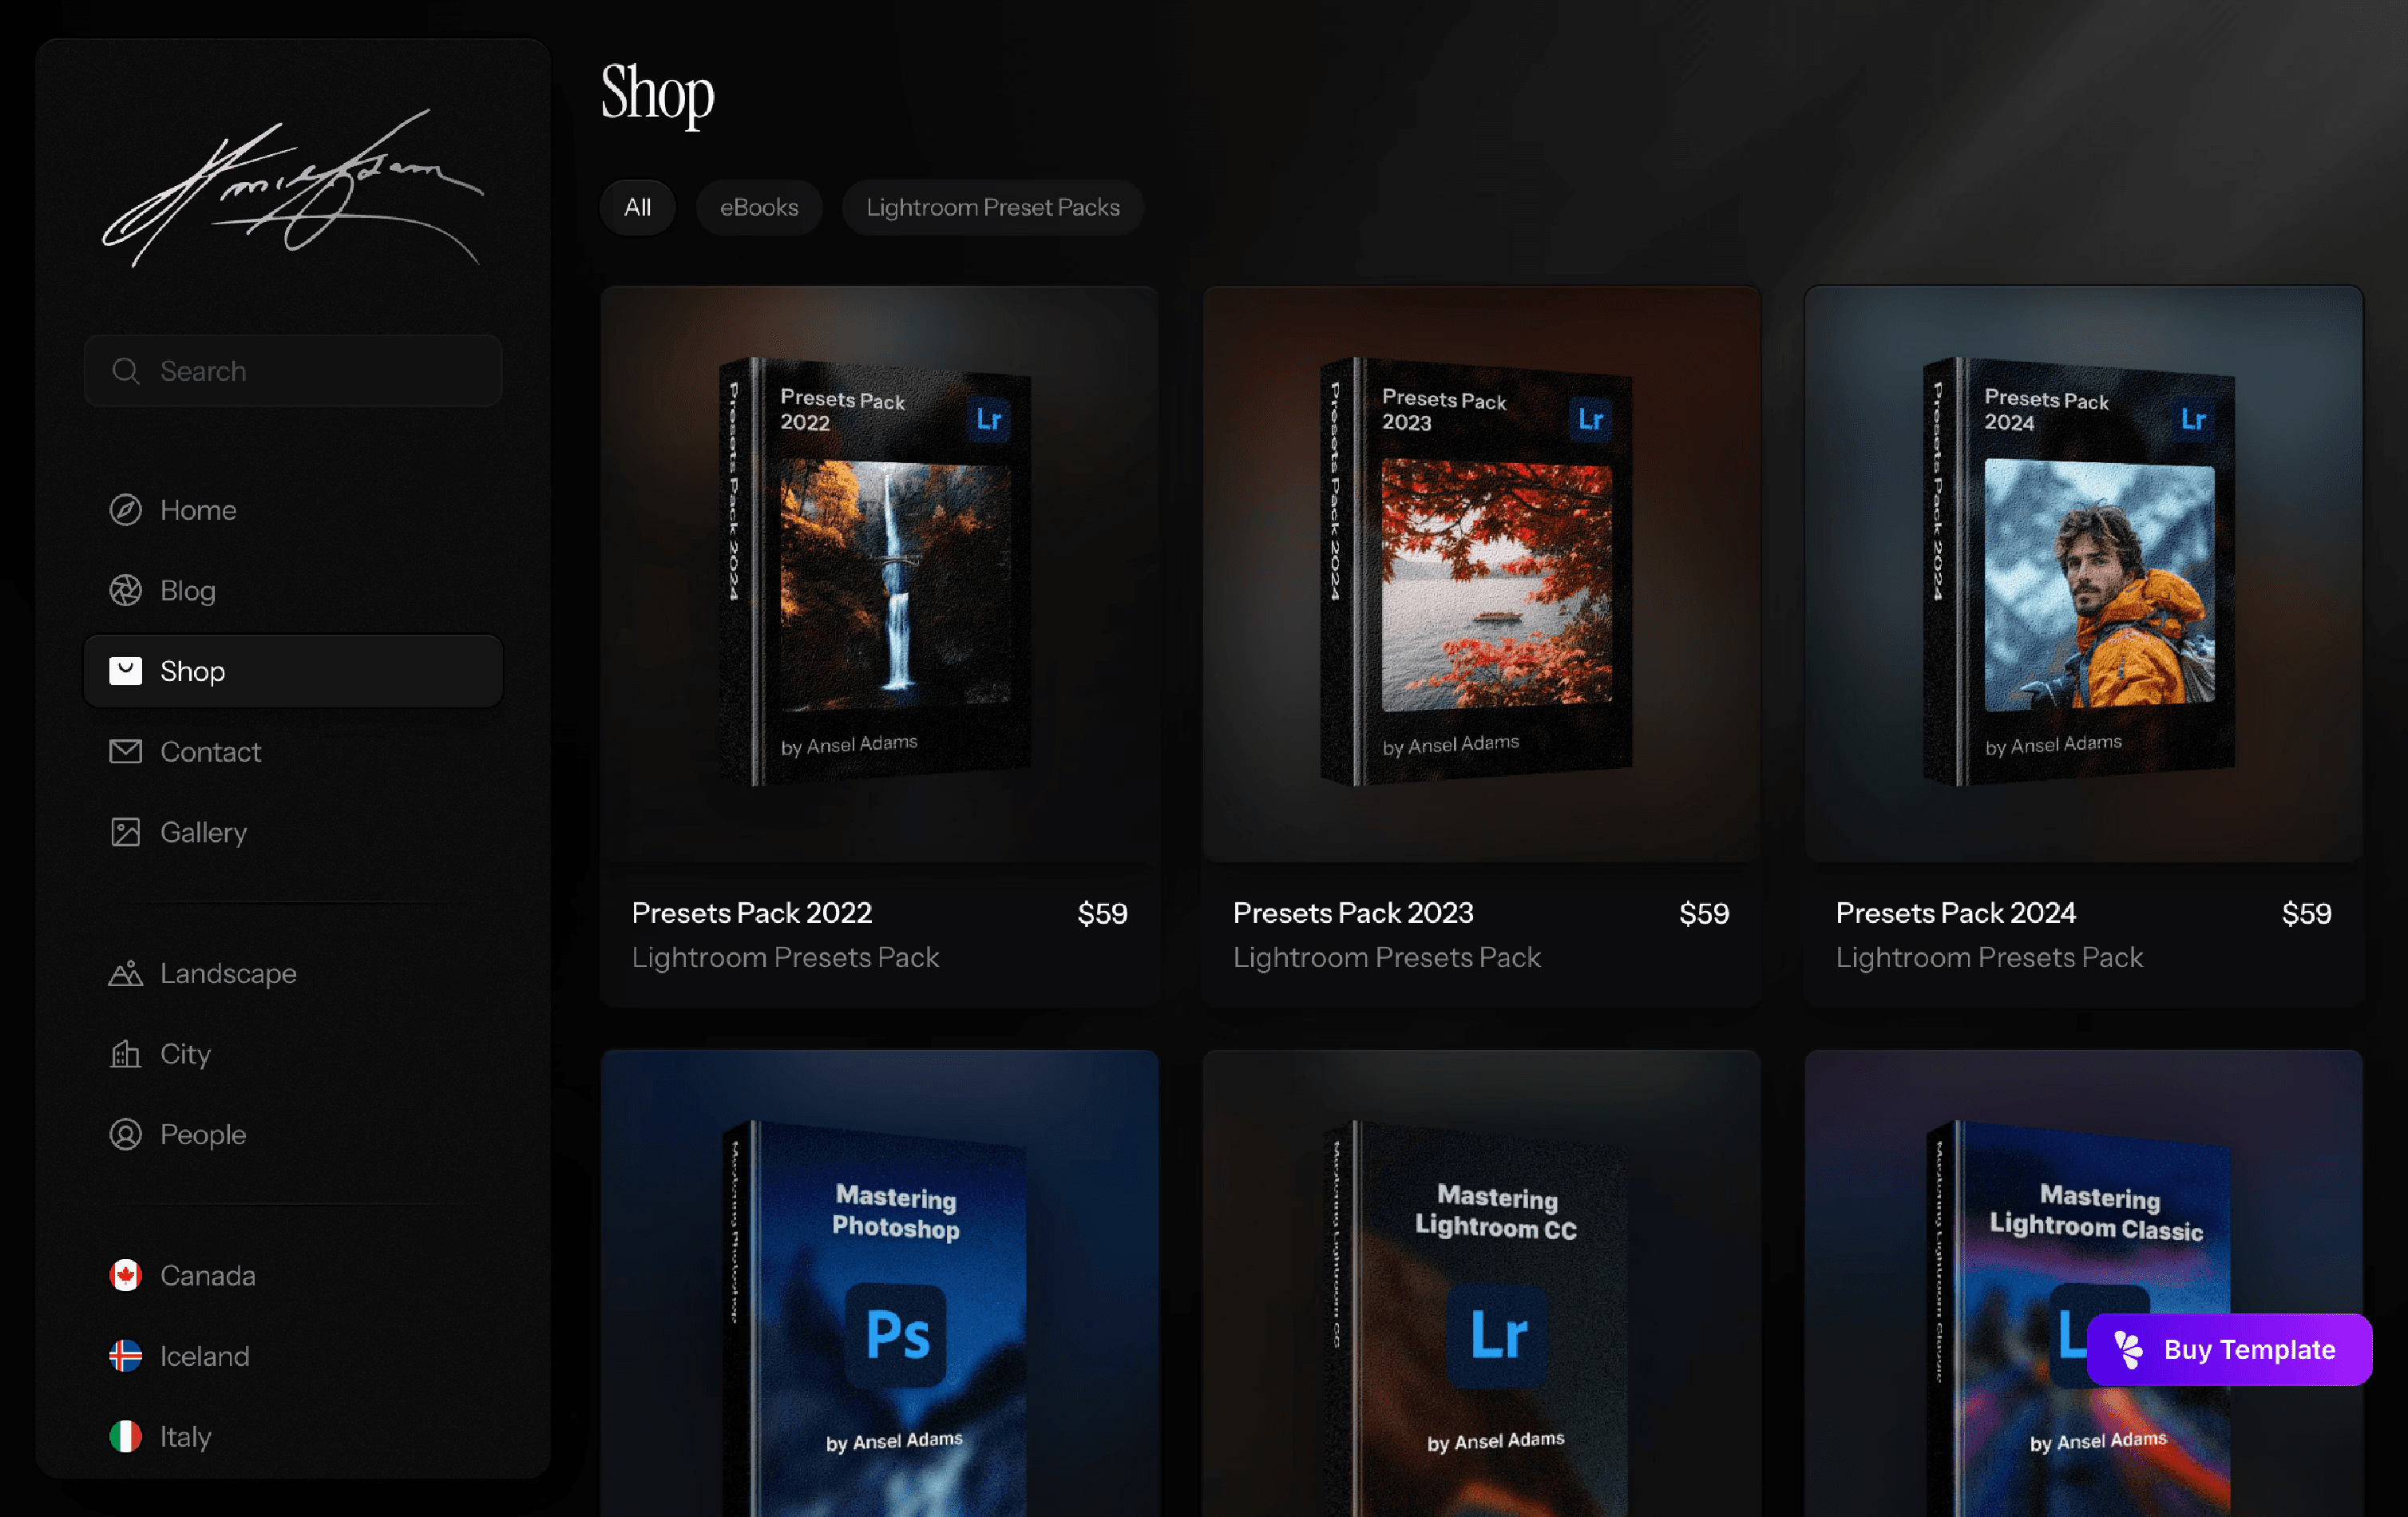
To customize the Shop:
Go to the Shop CMS collection and select a CMS item
From here, you can edit the Title, Price, Preview Image and Purchase Link
You can also add a short description and more content to describe your product or service
For Photography Presets, there are optional Before and After sliders that can be shown to enhance the page. To add these sliders, simply upload your photos to the CMS and set Show Slider 1 and Show Slider 2 to Yes.
To edit the Types of items in the Shop:
Go the Shop CMS collection
Click on the three dots in the top right, then click Edit Fields
Click on "Type"
Customized the Options and Default to your liking
Set each CMS item to the appropriate type
Next, go to the Element/ShopContent component
With the primary variant selected, click on the Product Tag components (near the top)
Edit the Title field for each ProductTag component to the same options you set within the CMS
Gallery / CMS
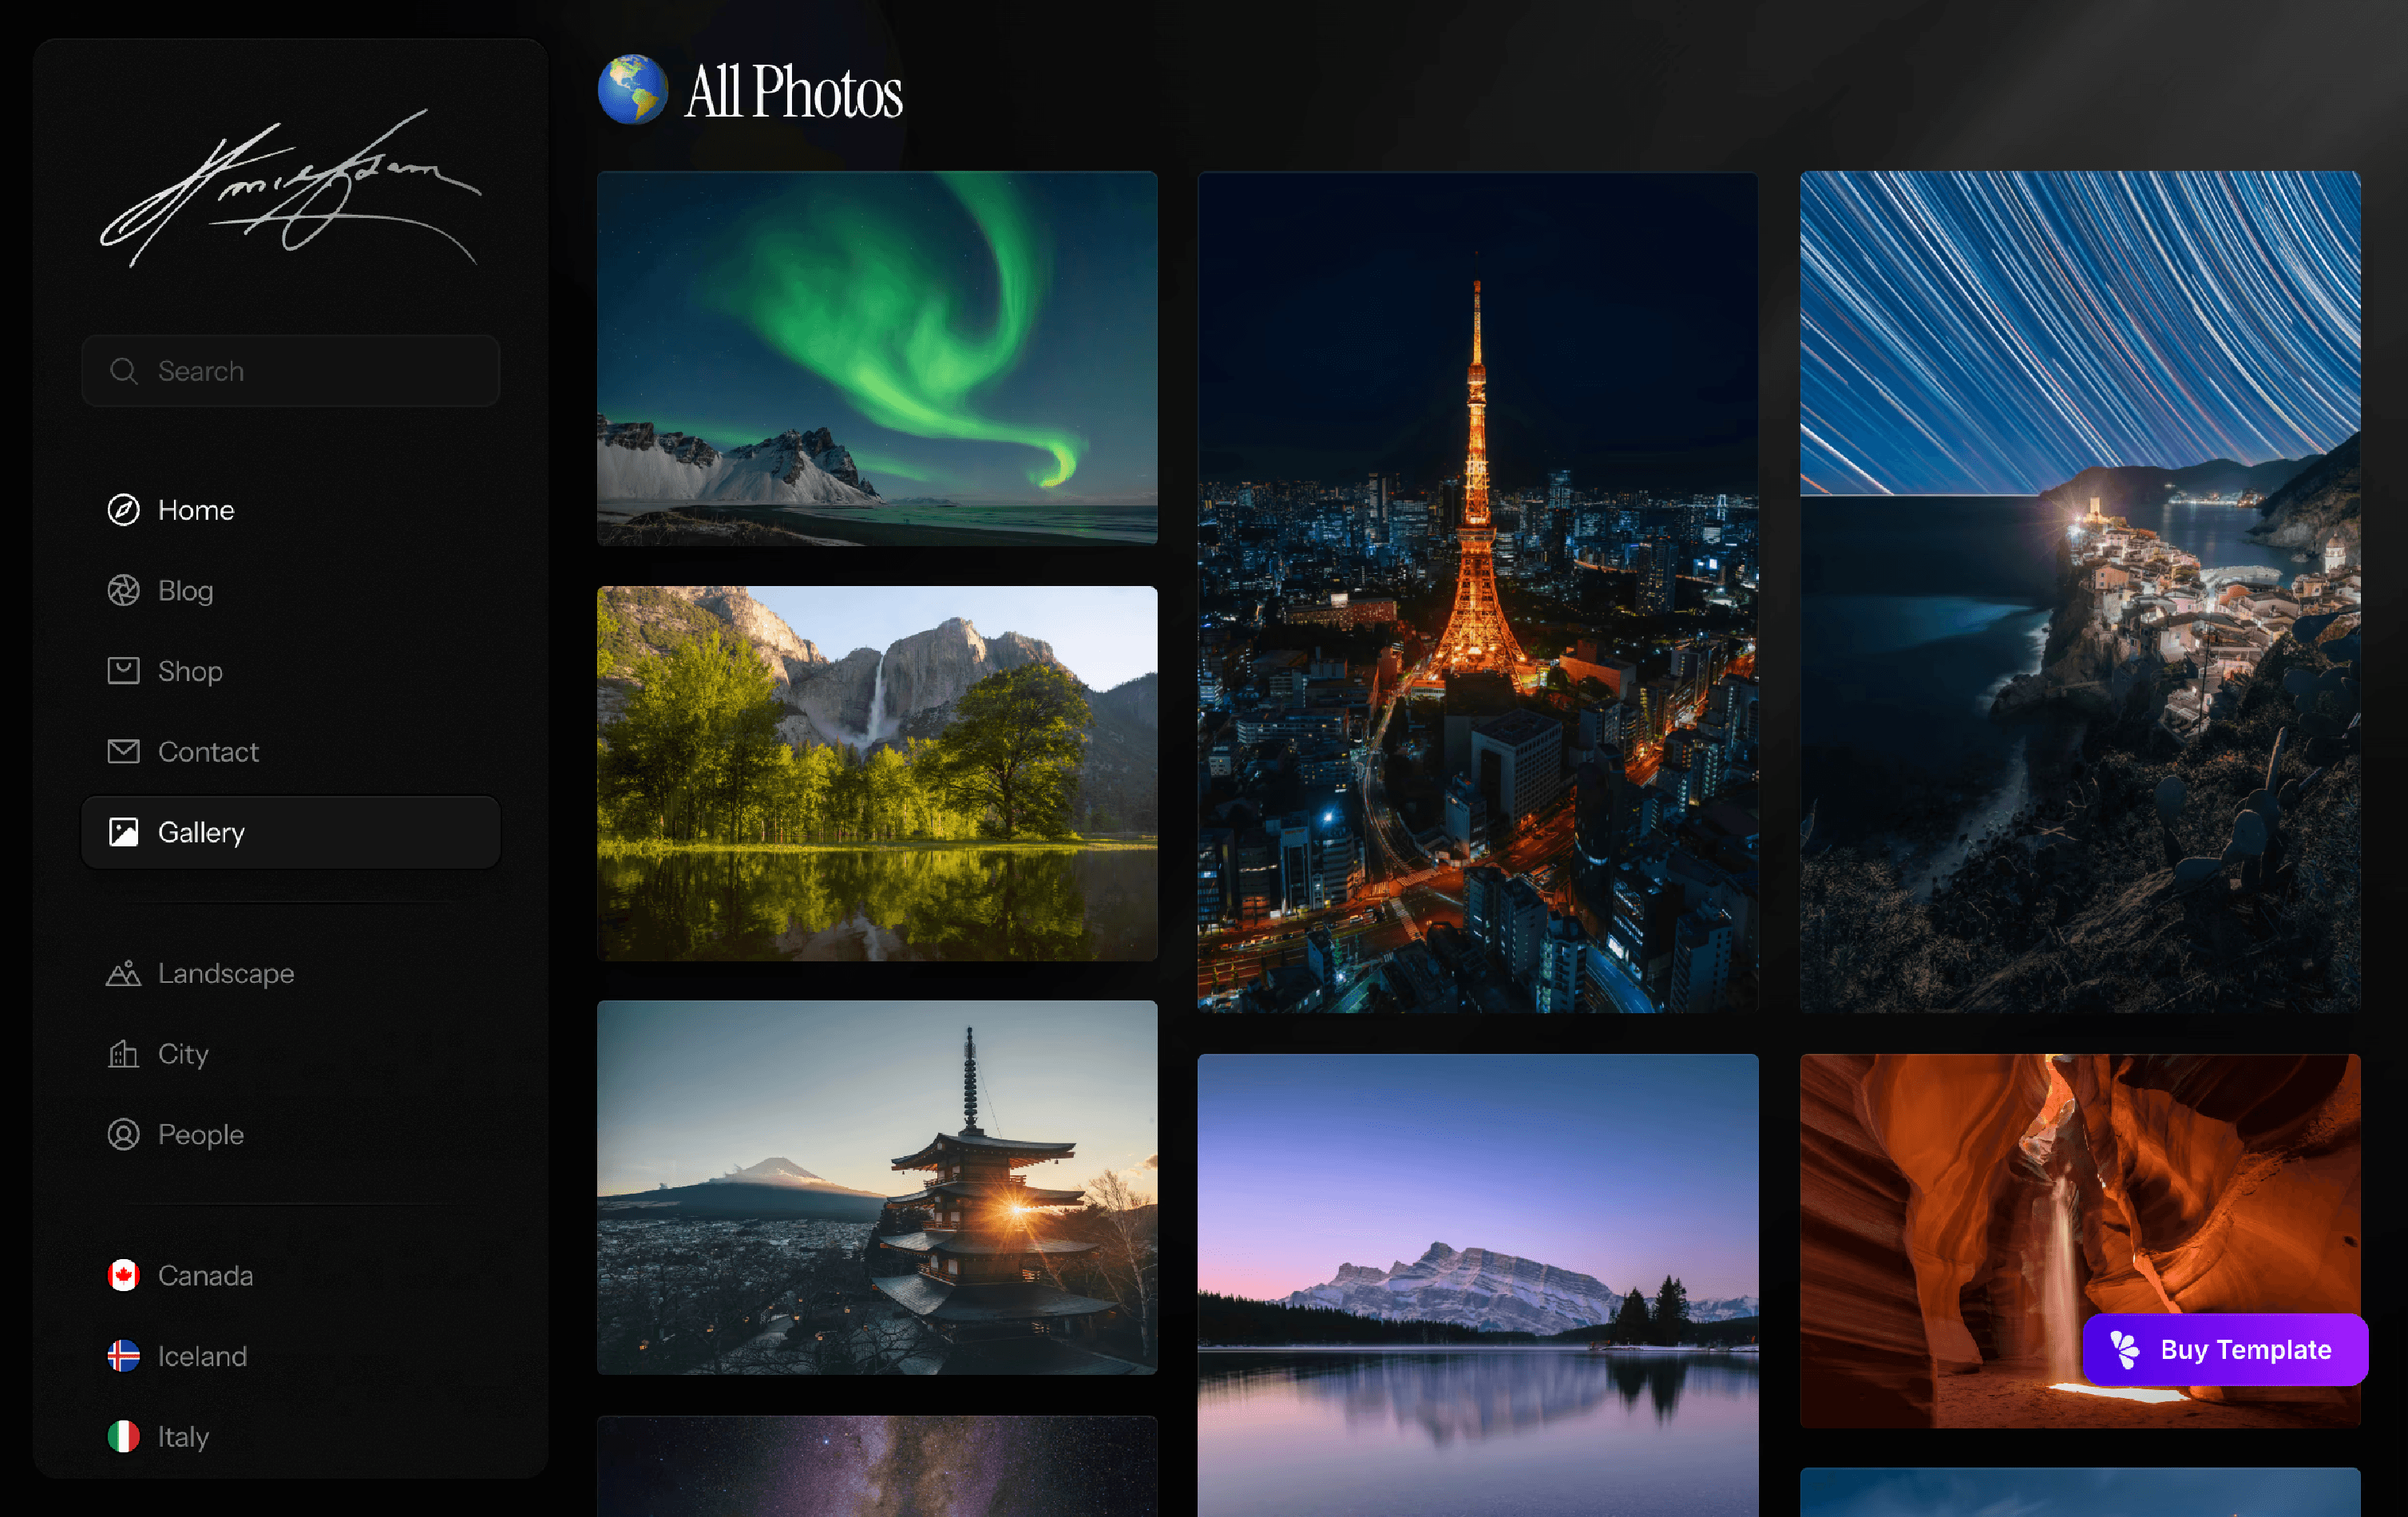
Tips and Tricks for adding your photo collections to the site:
All photos are stored as CMS items within the PhotoLibrary CMS collection
Each photo can have a Location (select one) and Tags (as many as you want). This allows each photo to appear in 1 or more collection pages.
By default, the Gallery page shows all of your photos
By default, all pages will sort photos based on the current sorting order of the PhotoLibrary CMS collection (default is Rating - descending)
You can sort photos automatically by Name, Location, Tags or Rating. You can also drag CMS items up or down to initiate manual sorting.
Editing gallery pages:
All gallery pages use the PhotosFiltered collection to only show photos that have a specific tag in the Tag CMS field, or a specific Location selected in the Location CMS field.
If the left side panel of your gallery pages show a Gallery/TagBased component or Gallery/LocationBased component instead, scroll down to read the "Older Versions" guides.
Example (Location-Based):
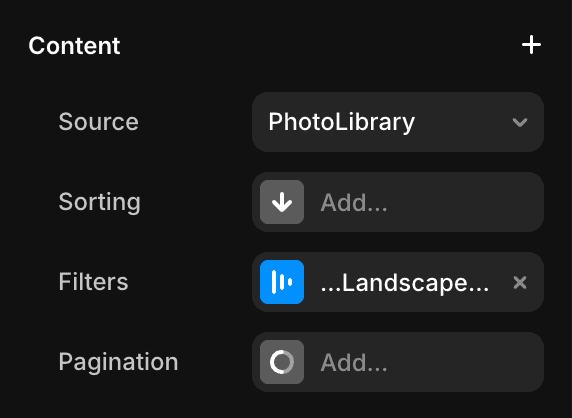
Within the Landscape page, click on the PhotosFiltered within the Content stack.
On the right panel, you'll see the Filters field under Content, then click on "…Landscape…".
Click on "…Landscape…" in the box that pops up to the left of the right panel.
Now, you'll see that this page will only show a photo if the keyword "Landscape" is somewhere in that photo's Tag field.
If a photo's Tag field says "Landscape City", it will show on both the Landscape page and City page, as those are the keywords for those two pages
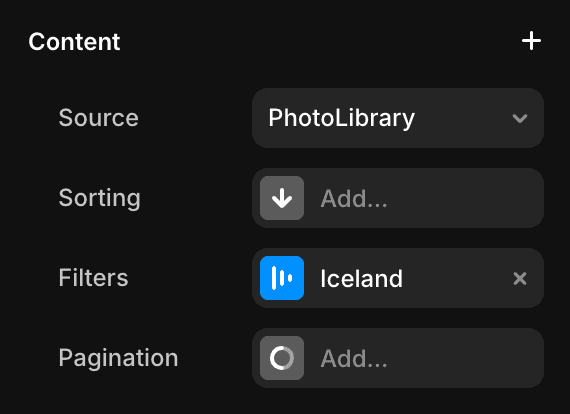
Example (Tag-Based):
Within the Iceland page, click on the PhotosFiltered within the Content stack.
On the right panel, you'll see the Filters field under Content, then click on "Iceland".
Click on "Iceland" in the box that pops up to the left of the right panel.
Now, you'll see that this page will only show photos with their Location field set to Iceland.
To edit Locations within the CMS:
Go the PhotoLibrary CMS collection
Click on the three dots in the top right, then click Edit Fields
Click on "Country". This label can be changed to any category you like (City, State, Location, etc.)
Customized the Options and Default to your liking
(Older Versions) Tag-Based pages:
If the left side panel of your gallery pages show a PhotosFiltered collection instead, scroll up to read the "Editing gallery pages" guide.
Tag-based pages use the Gallery/TagBased component to only show photos that have a specific tag in the Tag CMS field
Example:
Within the Landscape page, click on the Gallery/TagBased within the Content stack.
On the right panel, you'll see the Tag field says Landscape.
This means that this page will only show a photo if the keyword "Landscape" is somewhere in that photo's Tag field.
If a photo's Tag field says "Landscape City", it will show on both the Landscape page and City page, as those are the keywords for those two pages
(Older Versions) Location-Based pages:
Location-based pages use the Gallery/LocationBased component to only show photos that have a specific location in the Country CMS field
Example:
Within the Iceland page, click on the Gallery/LocationBased within the Content stack.
On the right panel, you'll see the Location field says Iceland.
If you change the Location field to a different option, the gallery will change to show photos with that option set.
Sidebar
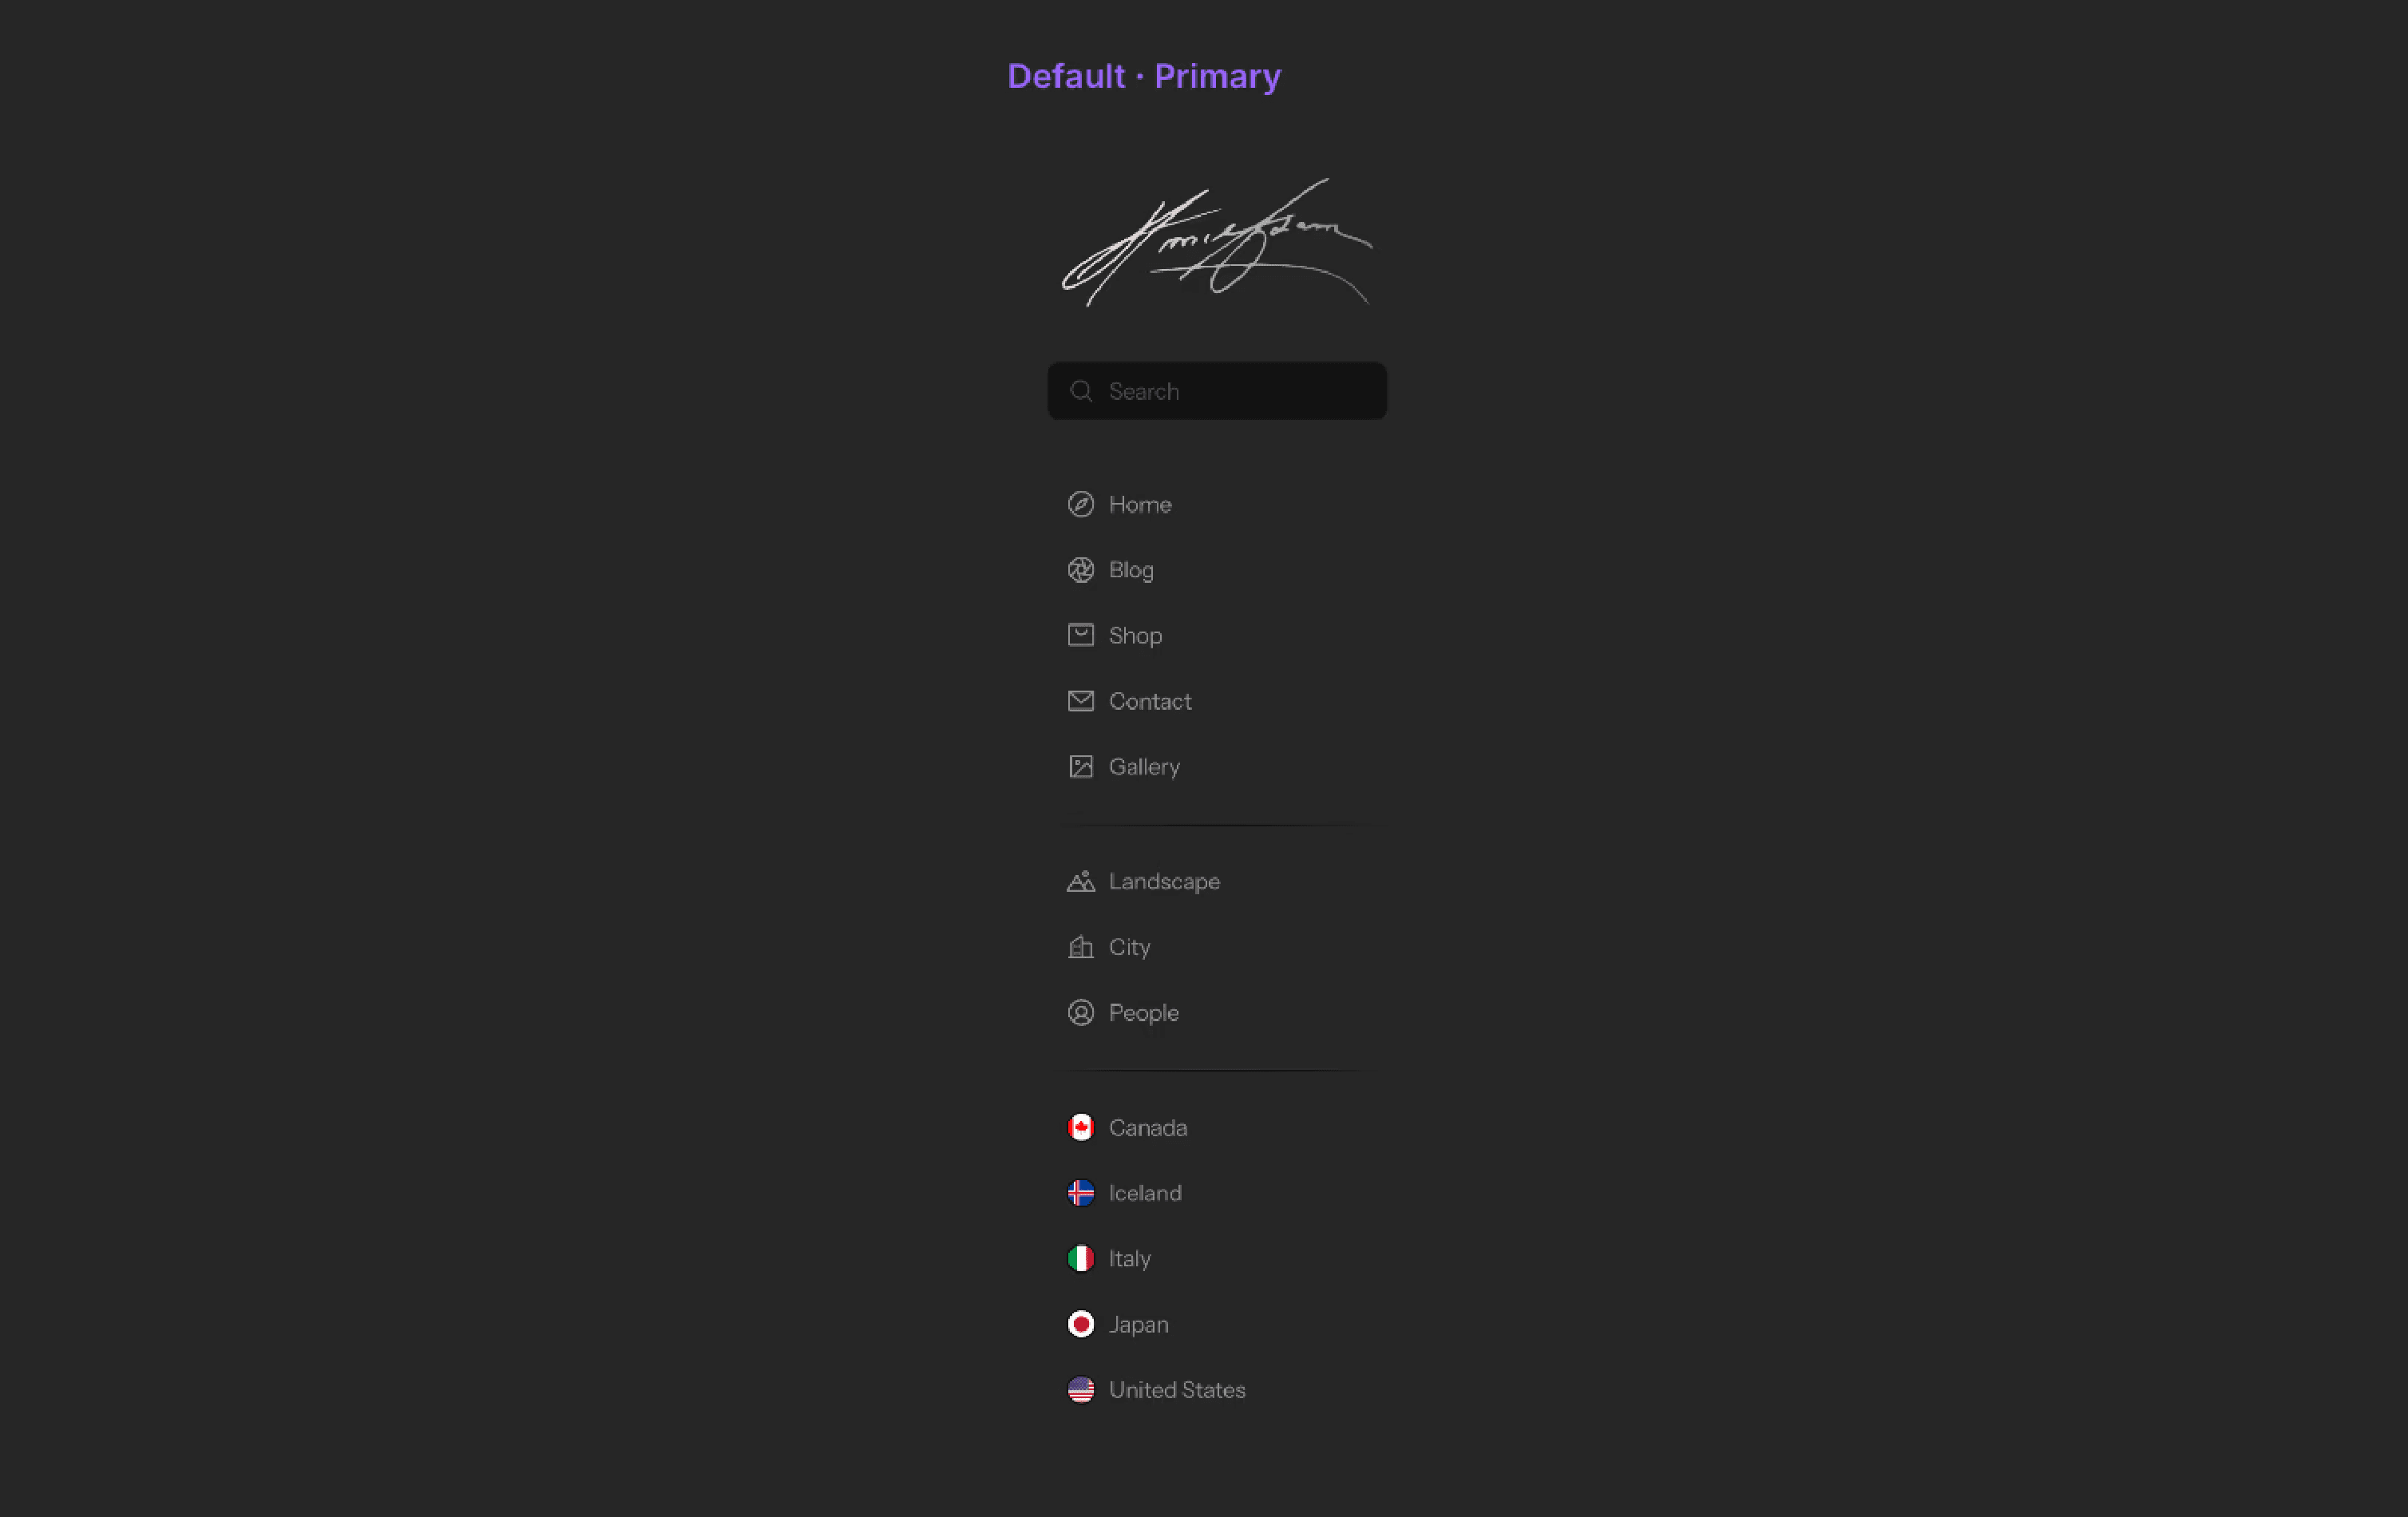
To customize the SideBar Logo:
Within the Nav/SideBar component, go to the LogoSearch stack and drag in your SVG or PNG logo
Link your logo to the Home page (just like the existing logo)
Delete the existing signature logo
To create a new page link within the SideBar:
Within the Nav/SideBar component, you'll see there are two types of the SideLinks: SideLink-Icon and SideLink-Image. You can create a side link with an image or icon, depending on your preference.
Copy and paste a SideLink-Icon or SideLink-Image component
On the right panel near the bottom, fill in the page Title, and the Link to the page
For Variant, click the X and then + Variant to create a new SideBar variable (name should be the same as Title)
(-Image only)To customize the Image, upload a new imageTo customize the icon, select an icon name from the dropdown for the IconVariant field
For the IconVariantFill field, select the same icon with "Fill" at the end
If you don't see a vector icon that you like, select Custom (Phosphor) and CustomFill (Phosphor). Next, select an icon name for the Phosphor Icon field
To add flag images for any country:
Download the flag from this link: https://www.countryflags.com/flags-of-the-world/
Upload the image into the Image field for a SideLink-Image component
Footer
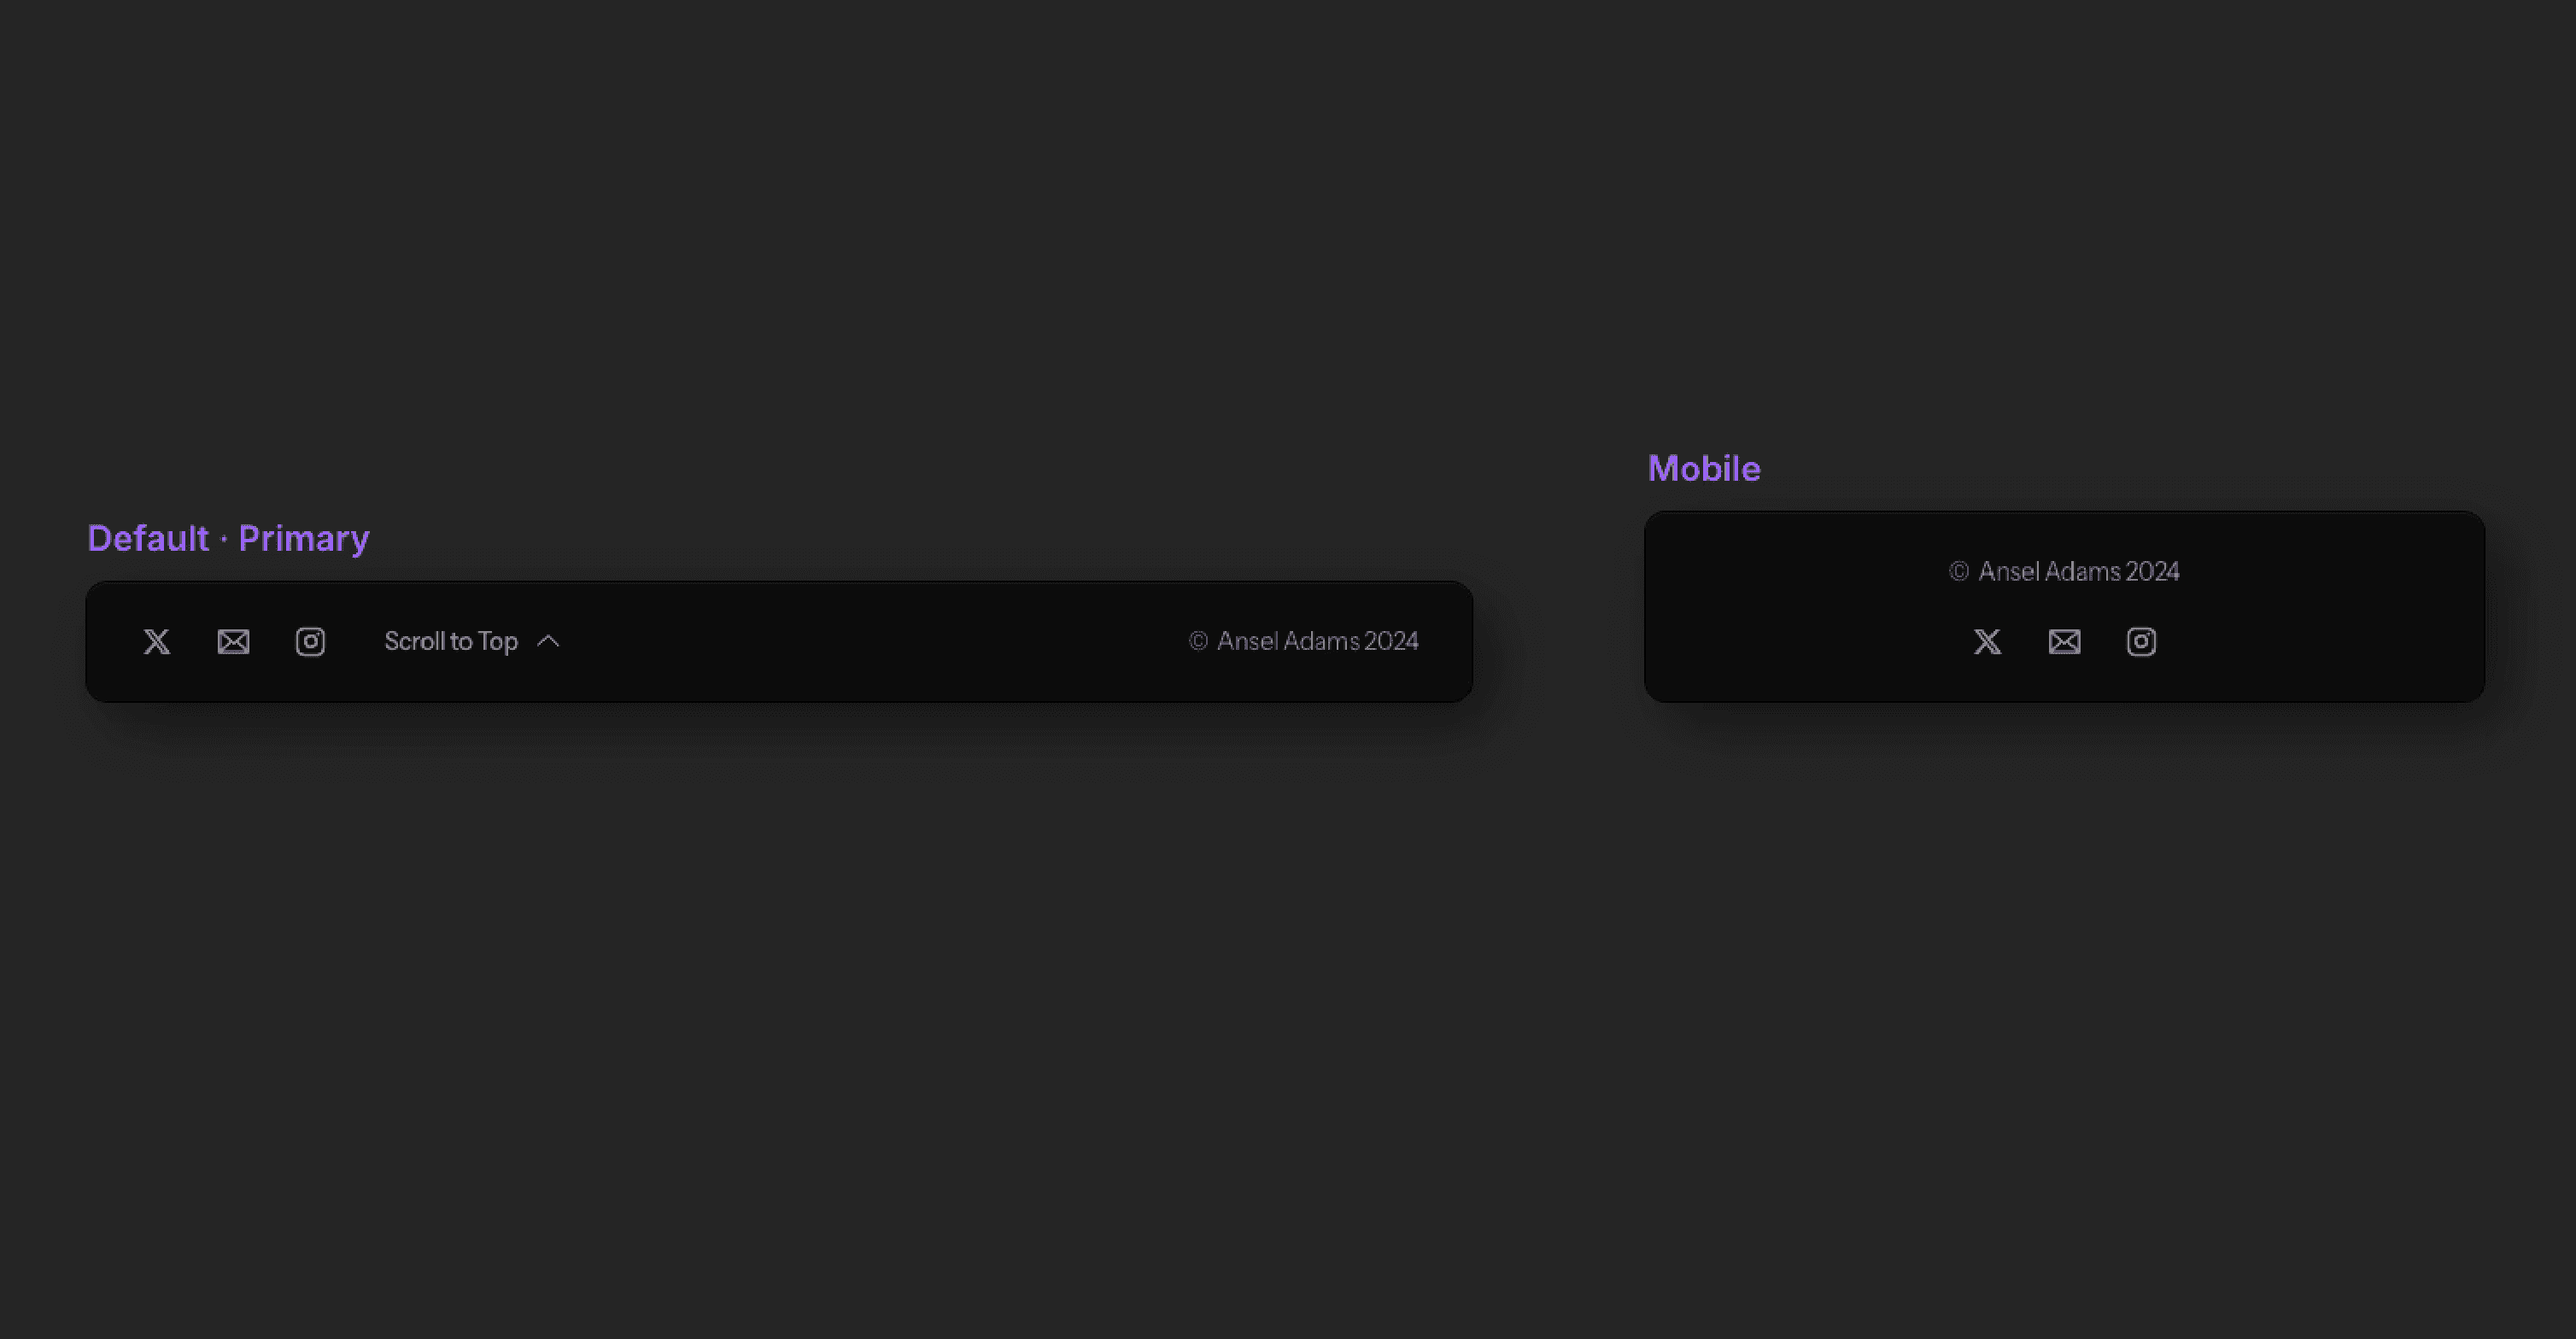
To customize the Footer:
Go to the Assets tab in the top left
Under Components > Project > Element, click on Footer
Change the Link fields for each Button/SocialLarge component
Change the copyright text
3D Book
To create your own 3D Book:
Replace Background and Image layers with your assets (within BookCoverTemplate or BookCoverTemplate2)
Replace Text layers with your own text
Export BookCoverTemplate or BookCover Template2 as JPG or PNG image
Click on 3D Book (on the left) and replace the Image field with your recently exported image
Replace text fields for 3D Book with your own
Export 3D Book component as a transparent PNG image
That's it! You now have your own 3D Book image to use within the Shop CMS (Image field).
Additional Note
Back button will only work properly on live site and will not work in preview.
The back button links to the following code: javascript:history.go(-1)
This is required in order to remember the previous page and the spot on the page when going back.
